How to Use Pilates Reformer Springs: The Ultimate Guide for Studios and Practitioners
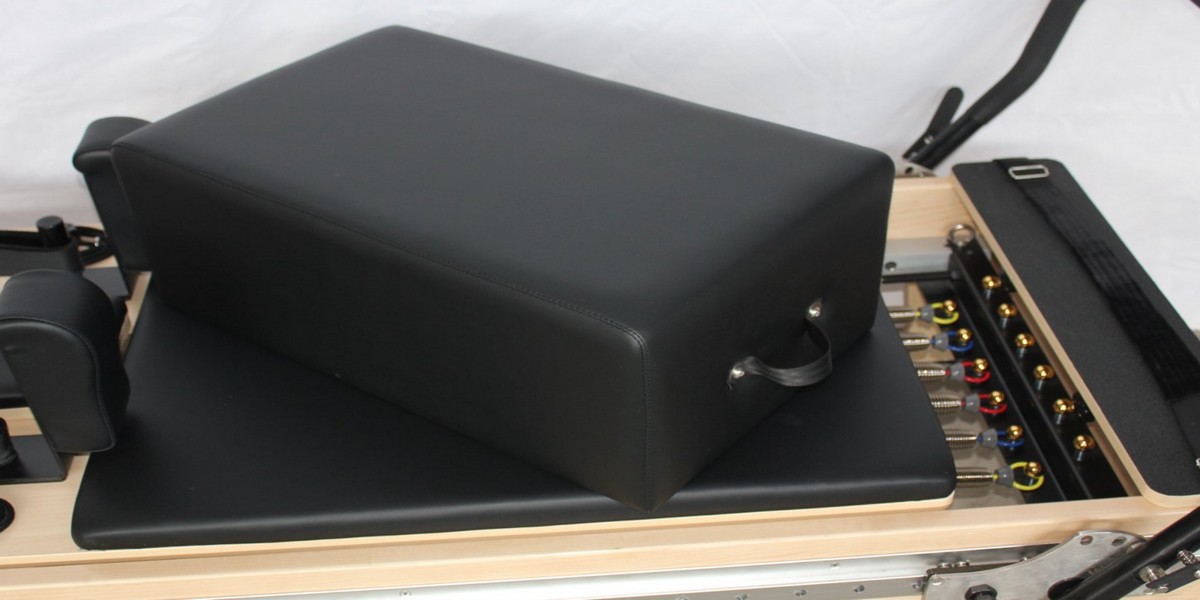
As a professional manufacturer of commercial-grade Pilates equipment, we engineer our reformer springs with precise tension curves. Here is our definitive guide on how to utilize these springs effectively and safely in your facility.
1. The Basics: Understanding Spring Colors and Resistance
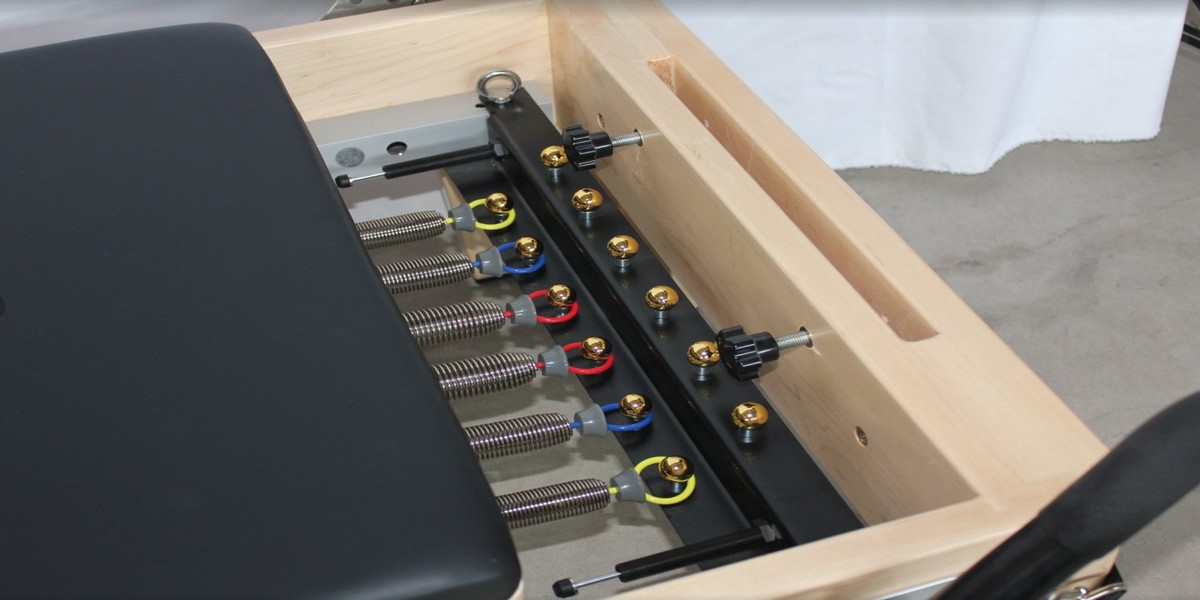
Before adjusting the equipment, it is crucial to understand the resistance profile you are working with. Our factory rigorously calibrates each spring to deliver a specific tension, identified by its color:
-
Red Springs (Heavy): Engineered with a thicker 2.8mm wire, these provide maximum tension. They are primarily used for lower-body power movements and heavy stabilization.
-
Green Springs (Medium): The 2.3mm wire provides a versatile, moderate resistance suitable for full-body integration.
-
Yellow Springs (Light): Featuring a thin 2.0mm wire, these offer delicate, smooth resistance perfect for upper-body work, rotator cuff rehabilitation, and advanced core challenges.
For a deep dive into the precise KG/lb tension data, read our complete guide on [What Do the Spring Colors Mean in a Pilates Reformer].
2. How to Attach and Adjust Springs Safely
Proper handling of the springs prevents equipment damage and eliminates the risk of injury during a class.
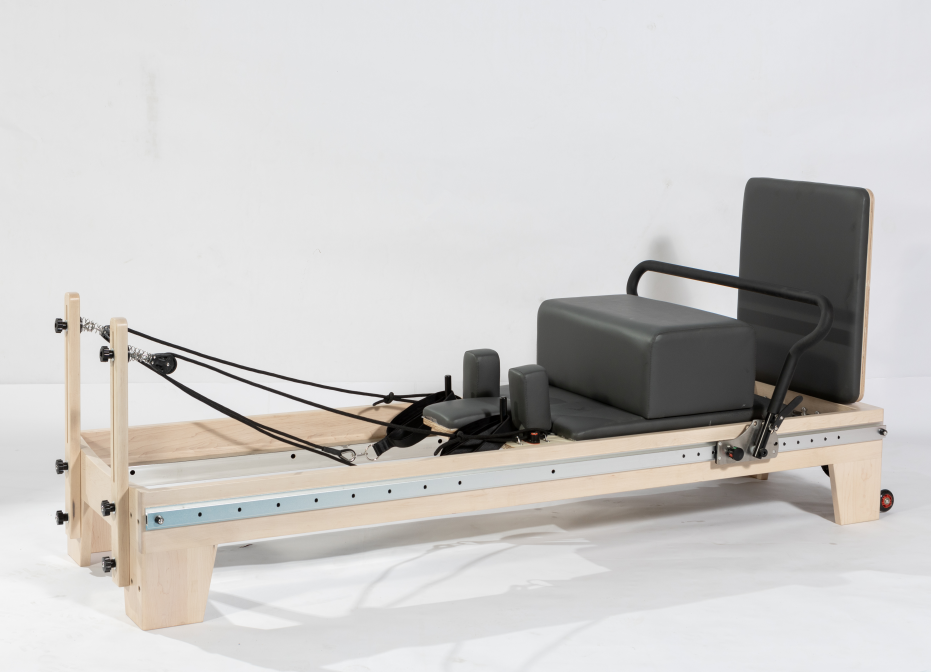
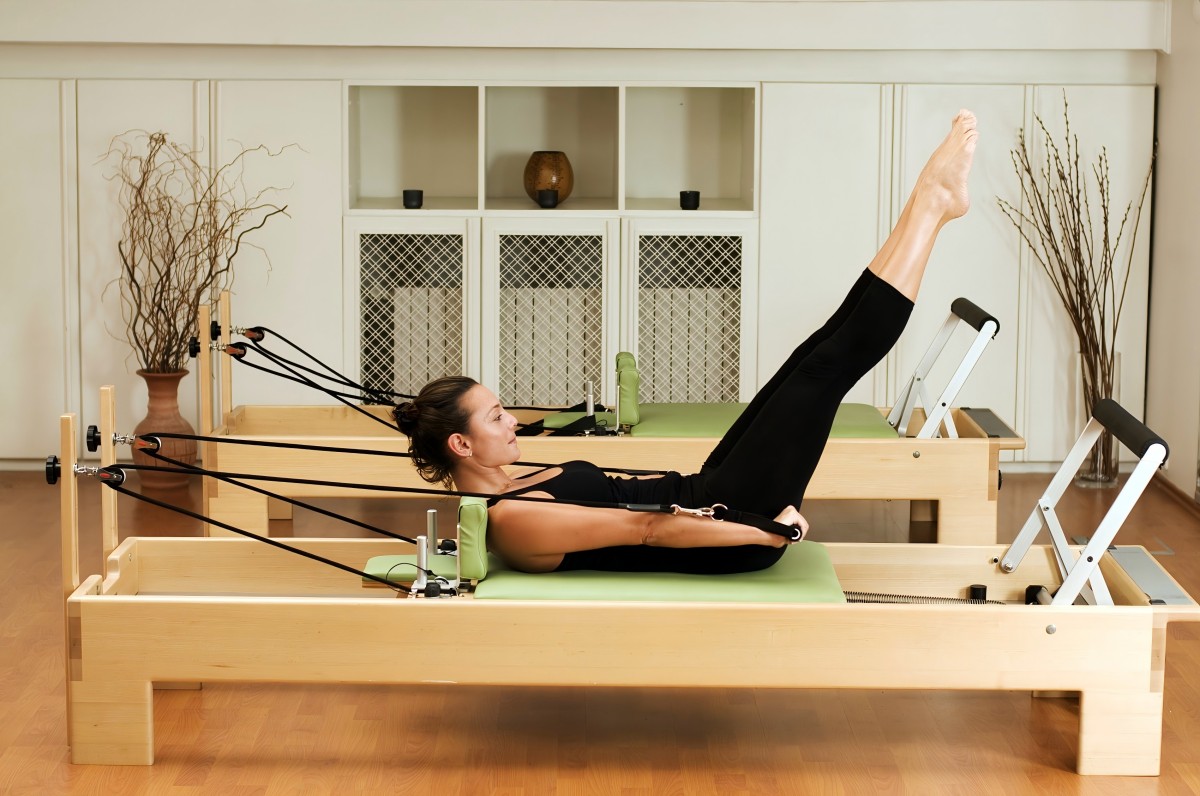
Attaching the Springs Always ensure the reformer carriage is in the fully closed position (resting against the bumper) before adding or removing springs. Firmly grasp the end of the spring and hook it securely onto the anchor points or spring bar.
Adjusting the Gearbar Most commercial reformers feature an adjustable gearbar or multiple hooking positions at the front of the frame.
-
Normal Gear: The standard position for most average-height users.
-
Extended Gear: Moving the gearbar further away from the carriage creates a higher initial tension (pre-stretch) before the movement even begins. This is often used for taller clients to ensure the springs do not go slack during extension.
⚠️ Manufacturer Safety Warning: Before the client pushes off the footbar, the instructor must visually confirm that the spring hooks are fully seated in their designated slots. A partially hooked spring can violently snap back during a heavy exercise.
3. Strategies for Choosing the Right Resistance
A common misconception among beginners is that "heavier is always better." In Pilates, spring tension serves two very different purposes: creating resistance and providing support.
-
When to go HEAVY (Red/Green): Use heavier springs when targeting large muscle groups like the quadriceps and glutes (e.g., Footwork). Heavy springs also provide support. If a client is performing a challenging balancing exercise, a heavier spring anchors the carriage, making the movement more stable.
-
When to go LIGHT (Yellow): Use lighter springs for smaller muscle groups (e.g., Arm Work). More importantly, light springs demand extreme core control. Because the spring offers very little support, the client's stabilizing muscles must work overtime to keep the carriage from jerking forward or backward.
4.How Do You Increase Resistance on a Reformer?
There are two main ways to increase resistance on a Pilates Reformer: using a higher-resistance spring or adding more springs to the carriage.
1. Use a Higher-Resistance Spring
The simplest way to increase resistance is to replace a lighter spring with a heavier one. On many Reformer systems, different spring colors represent different resistance levels.
For example, a yellow spring provides lighter resistance, while green and red springs provide progressively higher tension. Changing from a lighter spring to a heavier spring increases the force required to move the carriage.
This method is useful when you want to increase resistance without significantly changing the number of springs connected.
2. Add More Springs
Resistance can also be increased by connecting additional springs to the carriage.
For example, changing from:
1 spring → 2 springs
2 springs → 3 springs
increases the total spring tension acting on the carriage.
Studio users can also combine springs of different resistance levels, such as:
1 Red + 1 Green
2 Red + 1 Green
3 Red
to create different resistance levels for specific exercises and users.
Spring Resistance Should Match the Exercise
More resistance does not always mean a more difficult Pilates exercise. In some movements, heavier springs can provide greater carriage stability and support, while lighter springs may require more balance and core control.
For this reason, spring resistance should always be selected according to the exercise, the user's experience level, and the Reformer manufacturer's recommended spring configuration.
5. Common Spring Combinations in Practice
While specific exercises dictate the required resistance, here are standard spring combinations used globally in commercial studios:
-
Footwork (Lower Body Power): 2 Red + 1 Green (or 3 Red for advanced athletes). This provides robust resistance to push against.
-
Mid-Back Series / Arm Work: 1 Yellow or 1 Green. Allows for smooth, fluid motion without straining the delicate shoulder joints.
-
Planks / Core Stabilization: 1 Yellow. The extremely light tension means the carriage wants to slide open easily; the client must use pure core strength to hold it steady.
6. Maintenance and Inspection Guidelines for Studio Owners
Springs are the hardest-working components on a reformer. Metal fatigue is inevitable in a high-traffic commercial environment. As an equipment manufacturer, we strongly advise studio owners to implement the following maintenance protocols to protect their business from liability:
-
Weekly Visual Checks: Inspect the springs while they are at rest. The coils should be tightly compressed together. If you see visible gaps between the coils when the spring is unhooked, it has permanently stretched and must be replaced immediately.
-
Auditory Checks: Listen to the springs during a class. A healthy spring operates smoothly. If you hear excessive grinding or pinging noises, the internal mechanism or the attachment hook may be wearing out.
-
Replacement Cycle: For commercial studios running multiple classes daily, reformer springs should be proactively replaced every 12 to 24 months. Do not wait for a spring to snap mid-class.
7.FAQ
How do you increase resistance on a Pilates Reformer?
You can increase Reformer resistance in two main ways: switch to a higher-resistance spring or add more springs. Different spring combinations allow users to adjust the total tension according to the exercise and training level.
8. Ready to Equip Your Studio?
Ensuring your studio operates with perfectly calibrated, heavy-duty springs is non-negotiable for client retention and safety. Whether you need to order replacement springs in bulk or are looking to outfit a brand-new studio with premium commercial Pilates Reformers, our manufacturing facility is ready to deliver.
[ Contact Our Sales Team Today ] Reach out to us for a custom equipment quote, B2B wholesale pricing, and expert advice on outfitting your Pilates space with the industry's most reliable machinery.
Is Maple or Oak Better for a Pilates Reformer? A Manufacturer’s Guide
what do the spring colors mean in pilates reformer
Related Article